
Once a list exists, this is where you bring an existing list of contacts into it - and manage the people already on it.
The subscribers dashboard
Open a list to see everyone on it: an activity chart showing growth over time, and a row of status counts you can click to filter the table below:
- All - every subscriber on the list, regardless of status.
- Active - currently subscribed and able to receive campaigns.
- Unconfirmed - double opt-in signups who haven't clicked the confirmation link yet.
- Unsubscribed - opted out, kept on the list but excluded from sends.
- Bounced - their address rejected a previous send.
- Marked as spam - reported a previous campaign as spam.
Below that, the subscriber table lists each person's name, email, last activity and status, with a one-click Unsubscribe or Delete on their row.
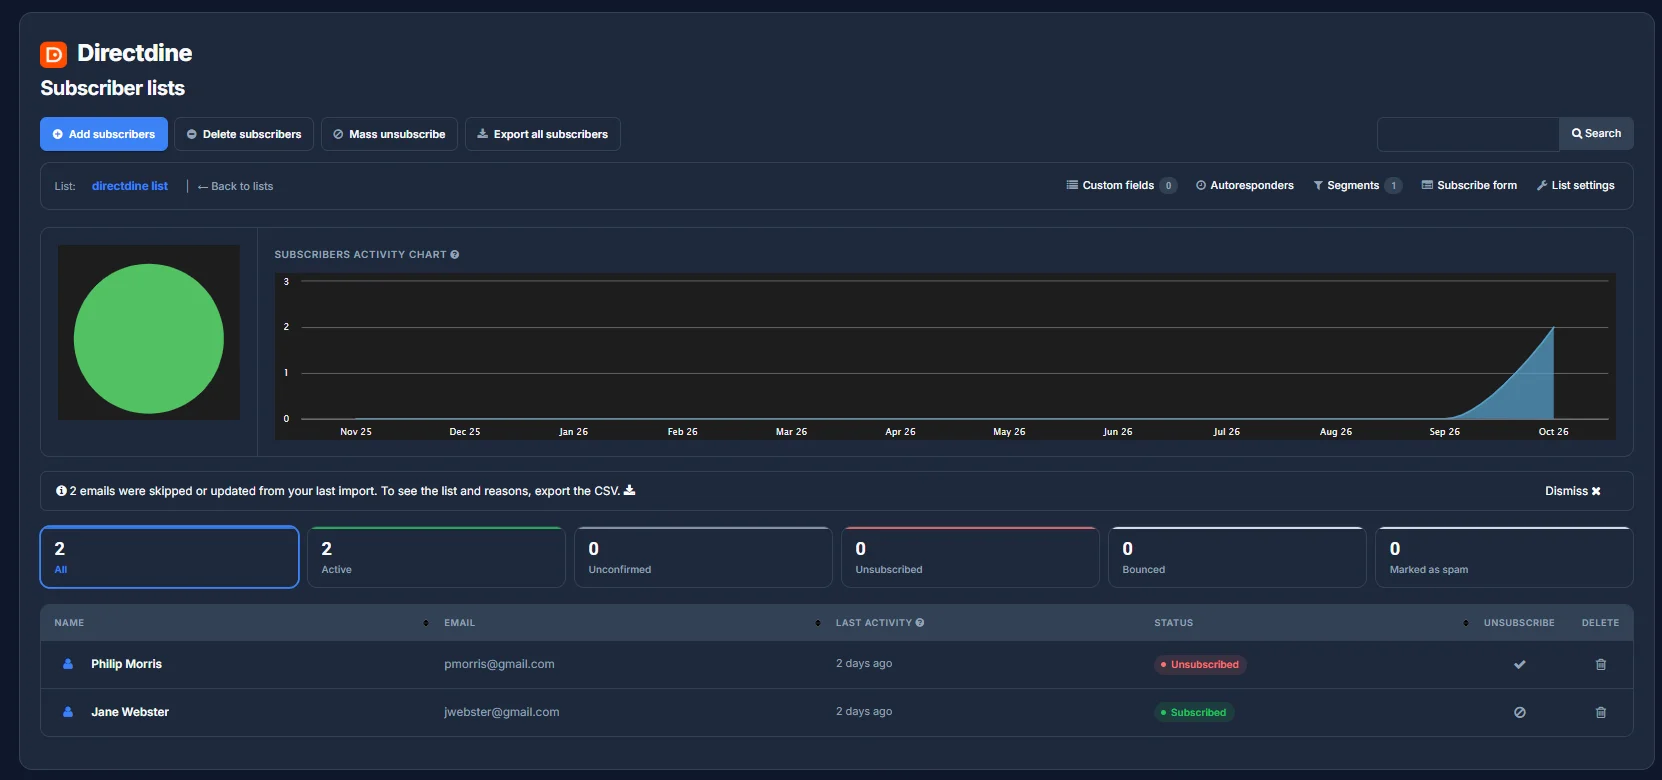
Four buttons above the table cover everything else: Add subscribers, Delete subscribers and Mass unsubscribe (all covered below), plus Export all subscribers, which downloads the whole list as a CSV. If a past import skipped or updated any rows - duplicates, say - a banner on this page says so and offers that same export to see exactly which ones and why.
Adding subscribers
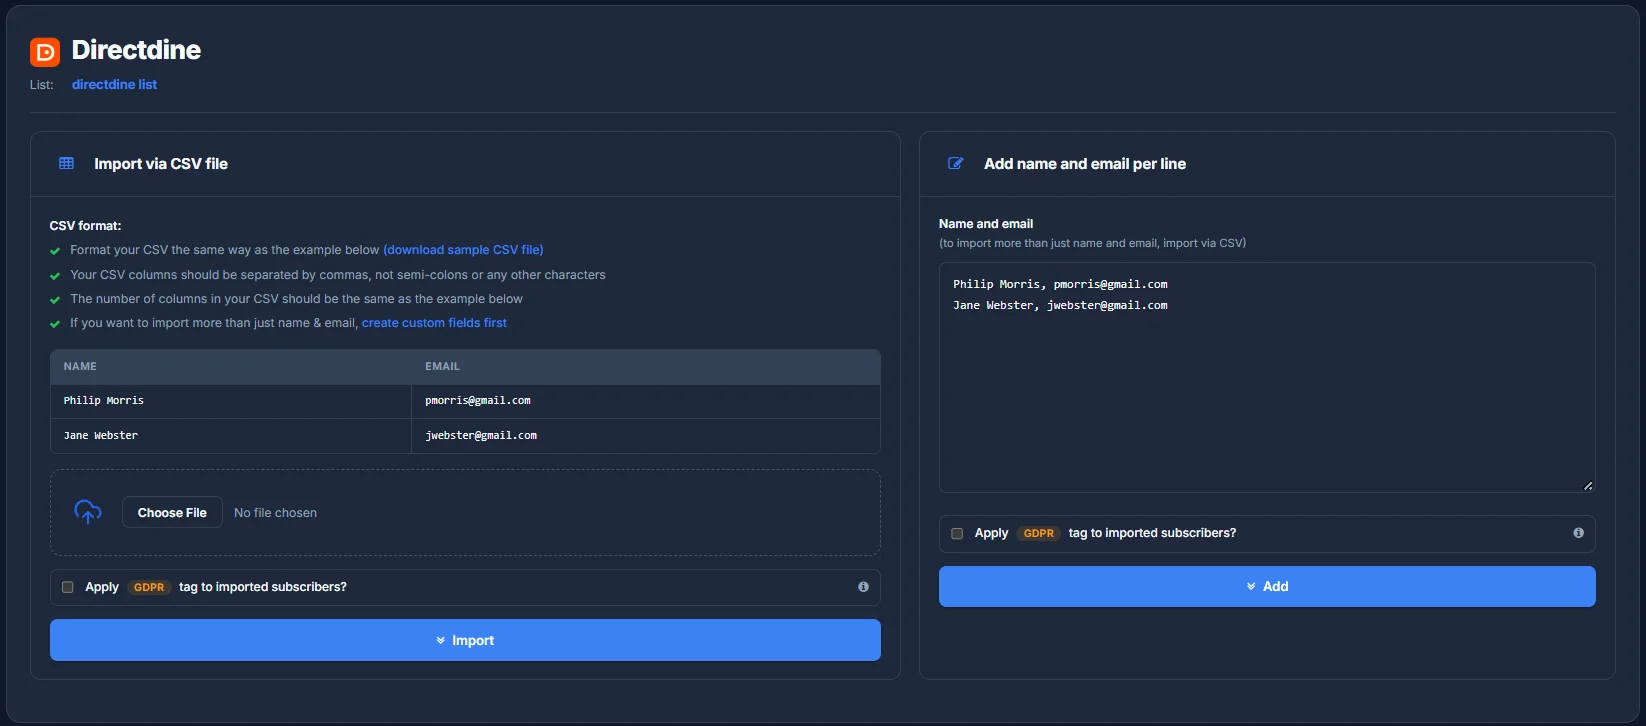
Click Add subscribers for two ways in:
- Import via CSV file - columns must be separated by commas, not semicolons or anything else, and your file needs the same number of columns as the sample format shown (a sample CSV is available to download if you want to start from it). To import more than just name and email, set up custom fields first so there's somewhere for the extra columns to go.
- Add name and email per line - paste names and emails directly, one per line, for a quick add without a file. This only takes name and email; anything beyond that still needs the CSV route.
Either way, you can optionally apply a GDPR tag to everyone you import - useful if you're bringing in contacts who've already given consent elsewhere and you want that reflected on their record.
Removing subscribers
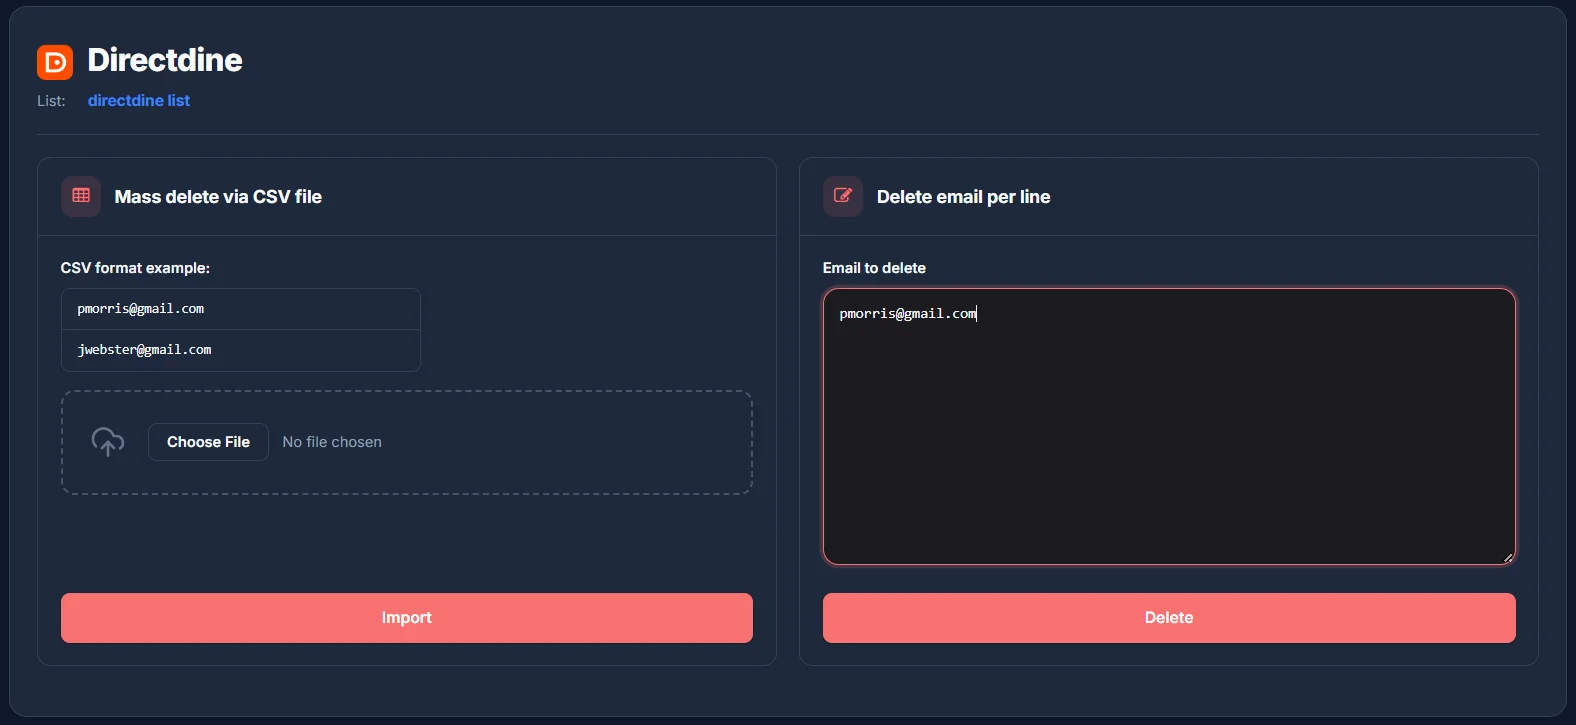
Delete subscribers removes people from the list entirely, the same two ways - a CSV of email addresses, or pasted one per line.
Mass unsubscribe is the gentler option - it marks people as unsubscribed rather than removing them, the same way: a CSV or a pasted list of addresses.
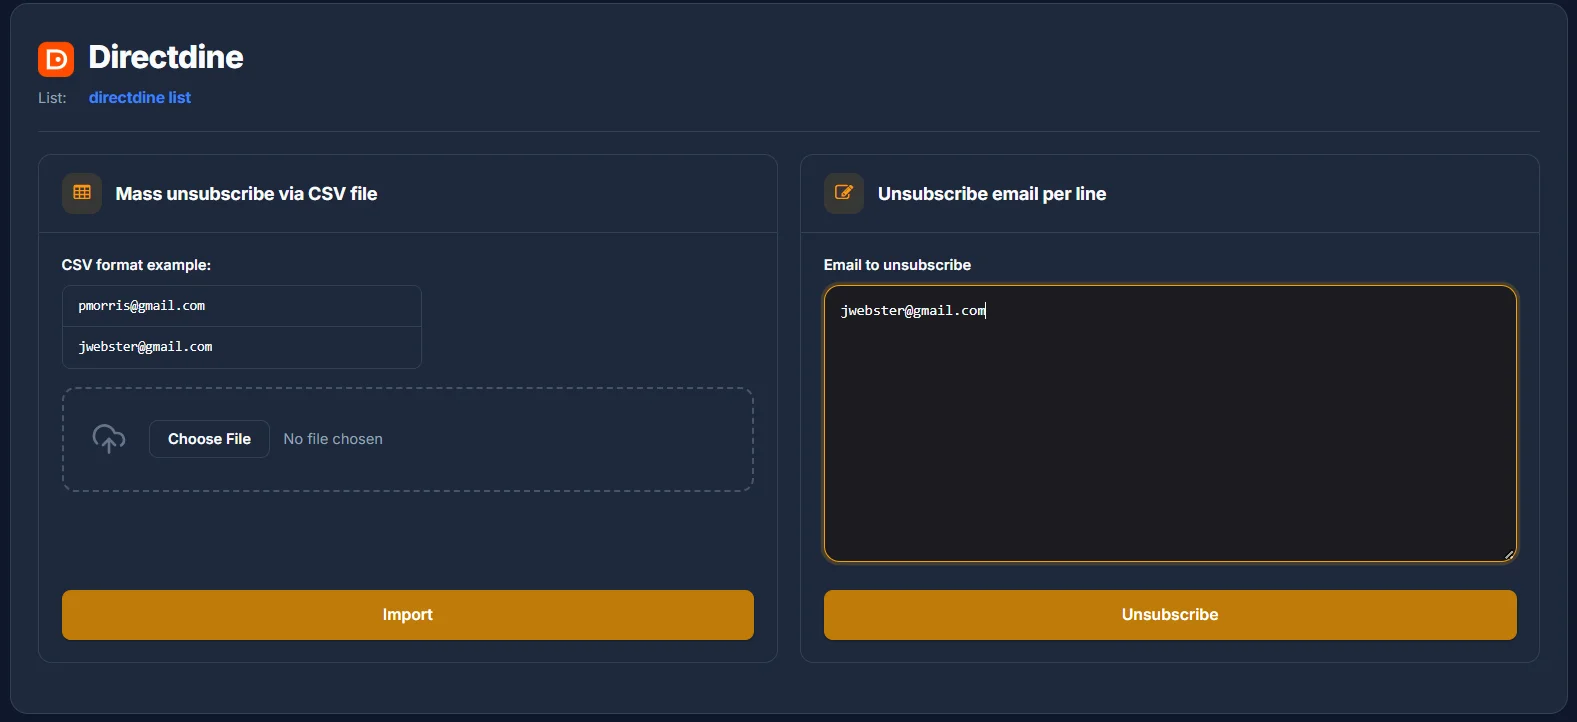
For a single subscriber, it's quicker to use the Unsubscribe or Delete action right on their row in the subscribers table instead of either of these bulk tools.