
There are two ways to start creating your SeekaHost Email account - pick a plan first, or create your account now and choose a plan afterwards. Either way, you'll fill in the same short sign-up form and be ready to go in under a minute.
Two ways to get started
You can begin from either of these two places:
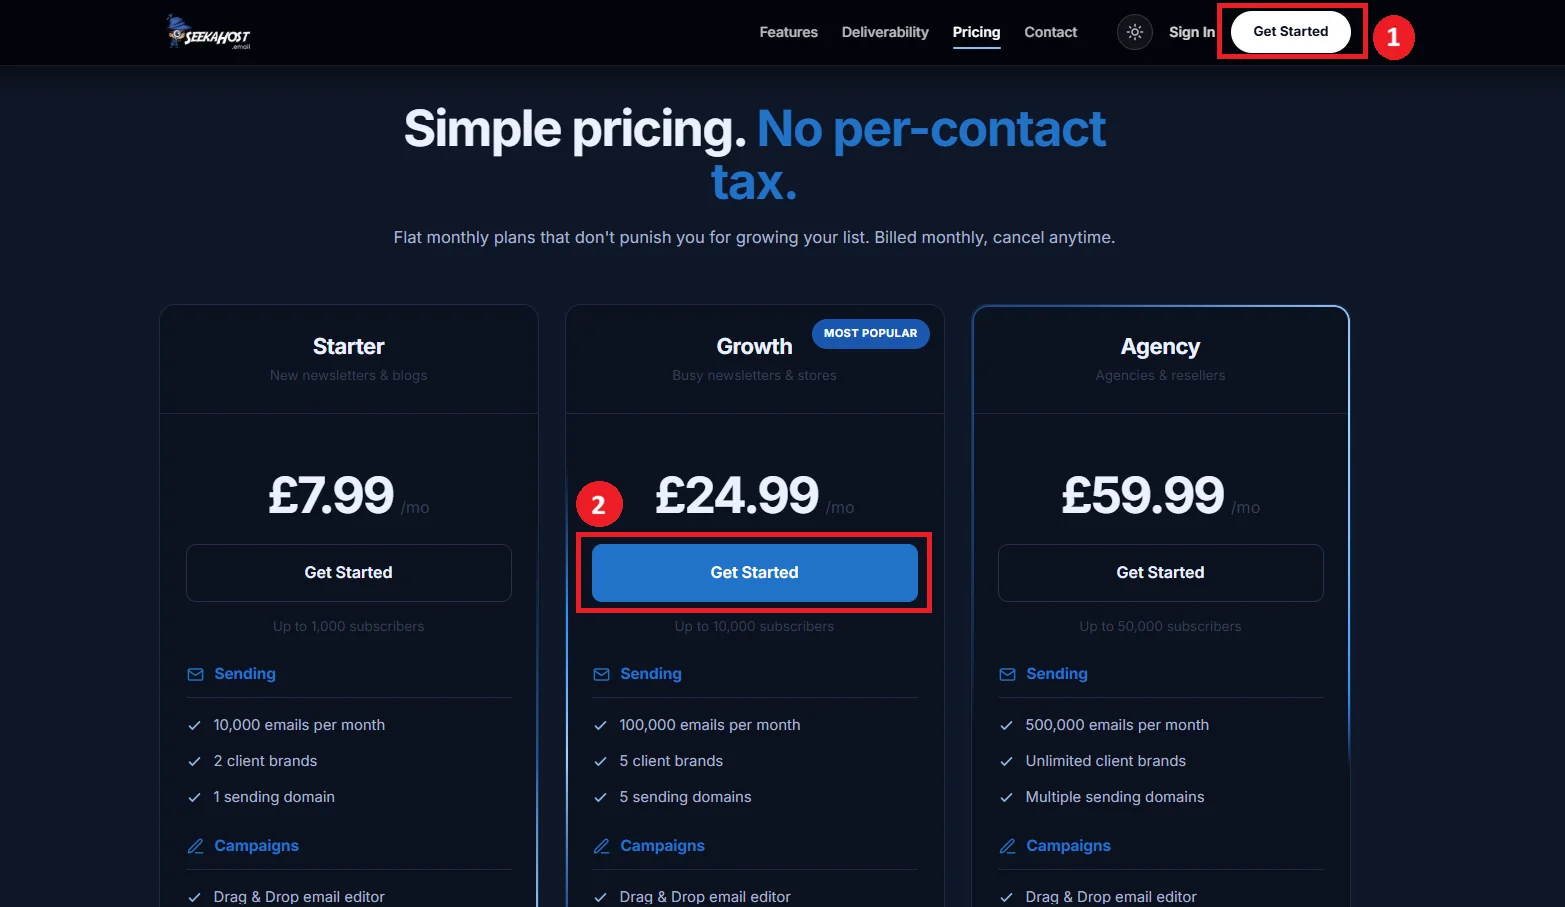
- From the site header - click the Get Started button at the top of any page. This takes you straight to the sign-up form with no plan attached yet; you'll be asked to choose one at the end of onboarding instead.
- From the pricing page - click Get Started on any plan. Your account will be created with that plan already selected, so you'll go straight to checkout once you've signed up.
Both paths lead to exactly the same sign-up form - the only difference is whether a plan is already picked out for you by the time you get there.
Filling in the form
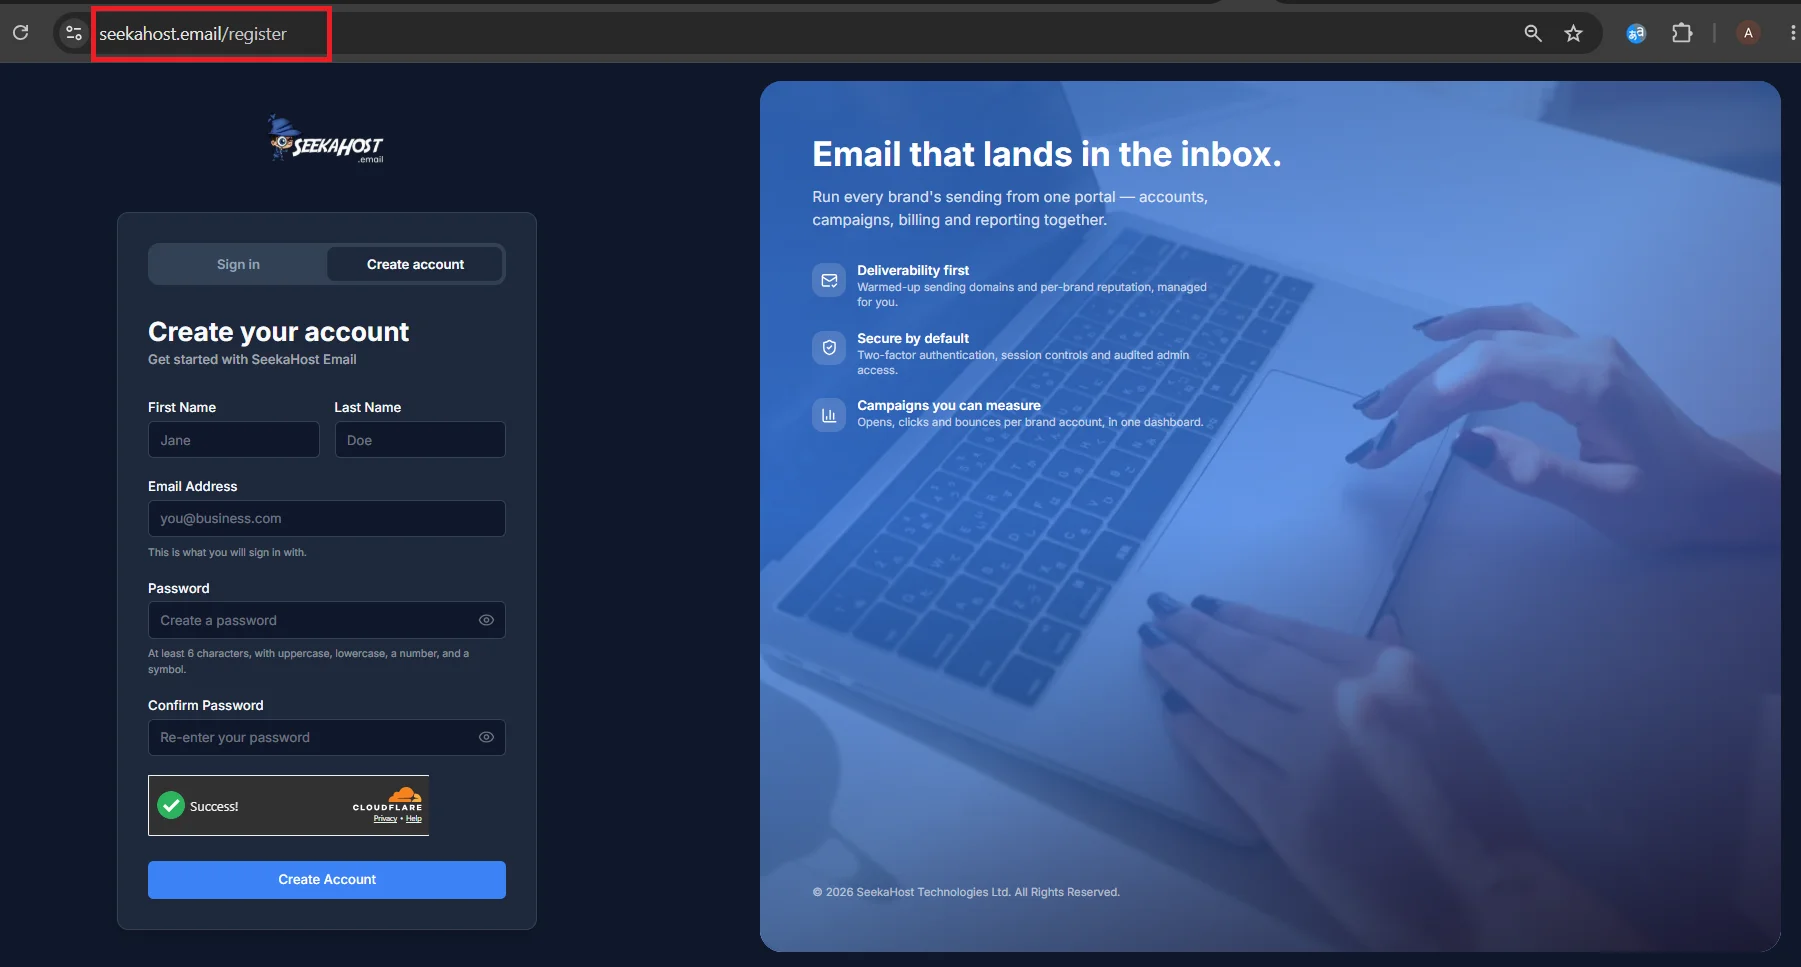
The sign-up form asks for a few basic details:
- First name and Last name - how we'll address you.
- Email address - this is what you'll sign in with, so make sure it's one you can access.
- Password - at least 6 characters, with an uppercase letter, a lowercase letter, a number and a symbol.
- Confirm password - re-enter the same password to make sure it was typed correctly.
- A quick human-verification check - this runs automatically in the background to confirm the sign-up isn't coming from a bot.
Once every field is filled in, click Create Account to continue.
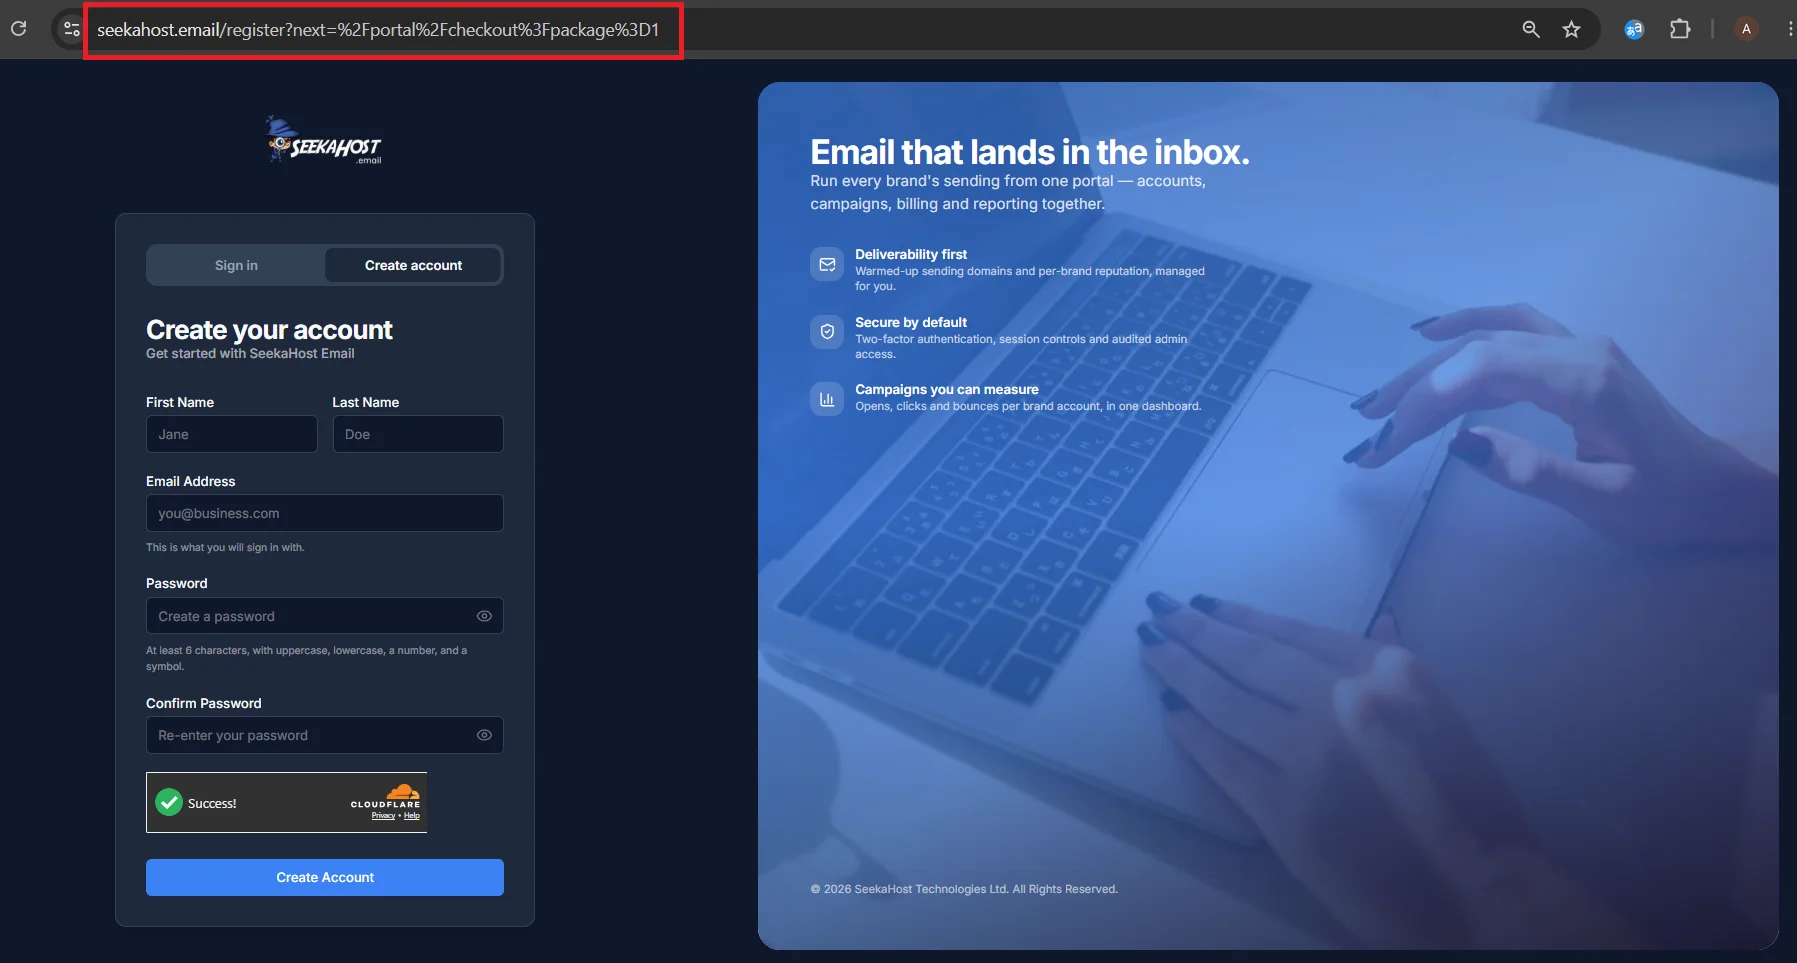
The form itself looks identical either way - the only difference is in the browser's address bar, which quietly carries your chosen plan through if you picked one. Compare the two:
As soon as you click Create Account, your account exists - but there's one more quick step before you can sign in.